How to Safely Wash Your Vehicle at Home.
A practical home-wash method that reduces swirl marks, water spotting and avoidable paint damage
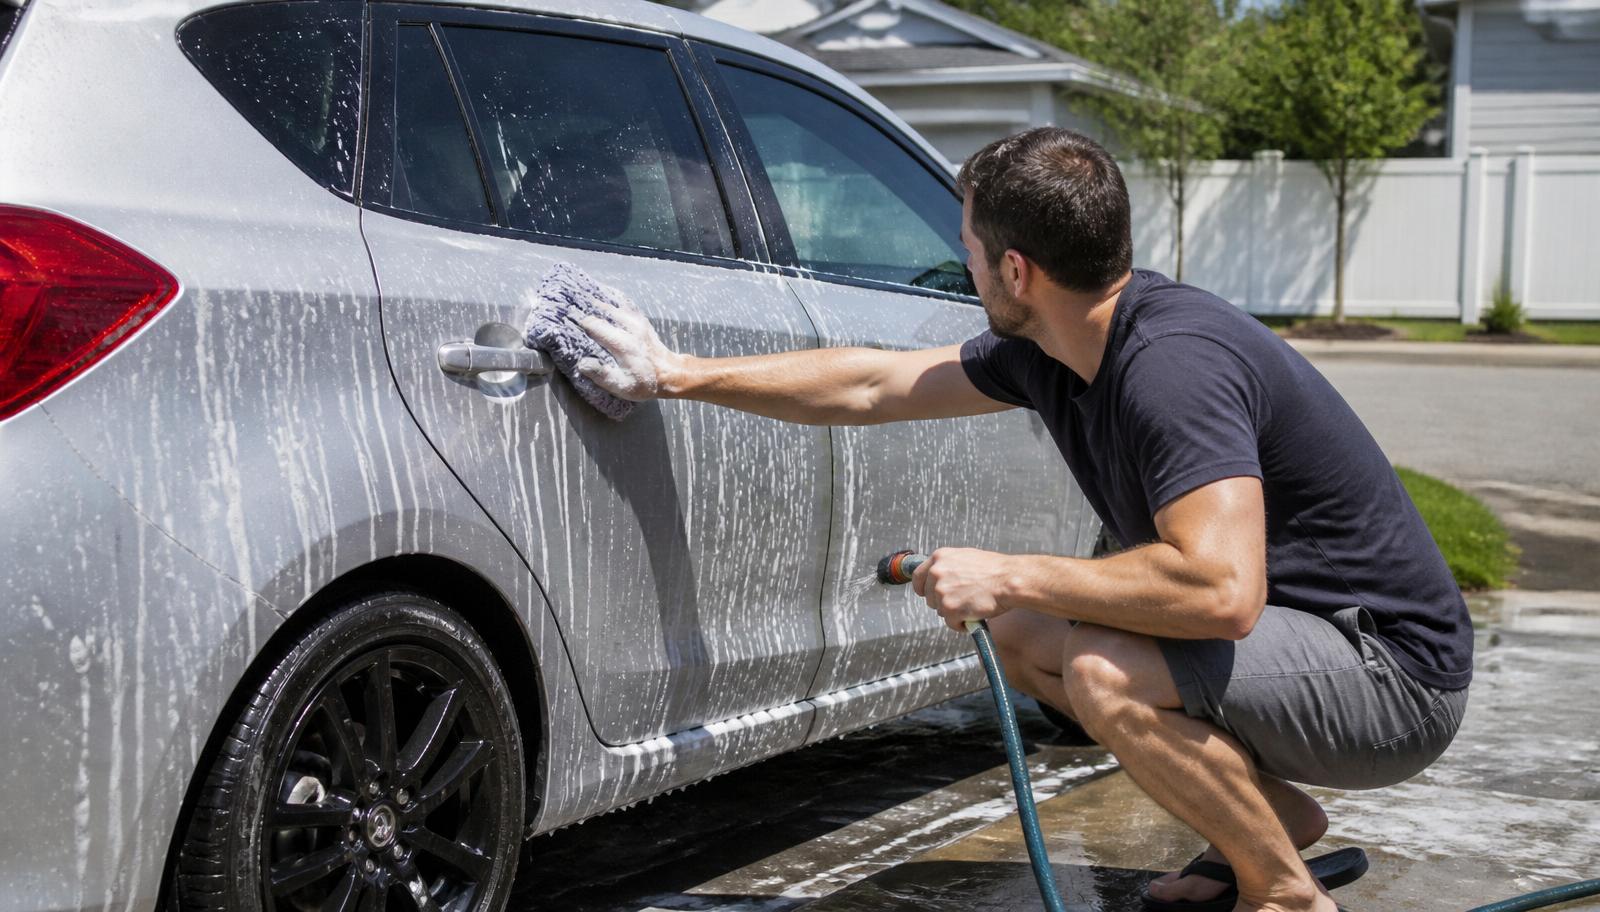
- Pre-rinse thoroughly before touching the paint.
- Use separate tools for wheels and paintwork.
- Wash from the top down with light pressure.
- Dry promptly to reduce water spotting.
- Do not scrub bonded contamination aggressively.
Why Safe Washing Matters
If you want to safely wash a car at home, the main aim is to remove dirt without dragging it across the paint. Most wash-related marking comes from road film, grit and contaminated wash media being moved over the clear coat. On darker colours, this often appears as fine swirl marks in direct sun.
Auckland conditions make this more important. Salt air, motorway grime, frequent rain and hard water can all leave deposits on your vehicle. If they are not softened, lifted and rinsed correctly, they can dull the finish over time.
Safe washing will not correct existing scratches. If your paint already looks hazy or swirled, read our guide to paint correction before expecting a wash to improve clarity.
What You Need Before You Start
You do not need a complex setup, but you do need clean, suitable tools. Avoid old bath towels, household detergents and abrasive sponges. These can strip protection, stain trim or mark the paint.
| Item | Purpose | Notes |
|---|---|---|
| pH-neutral car shampoo | Lubricates the wash | Avoid dishwashing liquid |
| Two buckets | Separates clean wash water from rinse water | Grit guards are helpful |
| Microfibre wash mitt | Holds shampoo and lifts dirt | Use separate mitts for lower panels if possible |
| Wheel brushes | Cleans wheels and tyres | Do not use on paint afterwards |
| Microfibre drying towels | Reduces water spotting | Use clean, plush towels only |
| Hose or pressure washer | Pre-rinses loose dirt | Keep safe distance from badges and trims |
Quality products from brands such as Ceramic Pro or Koch-Chemie can make the process easier, but technique matters more than the label. If your vehicle has ceramic coating or other paint protection, use products that are compatible with protected surfaces.
The Safe Home Wash Process
1. Wash In The Shade
Start when the panels are cool. In Auckland sun, shampoo and rinse water can dry quickly, especially on black paint, glass and aluminium trim. This increases the chance of water spotting and residue.
2. Rinse Thoroughly First
Rinse from the top down to remove loose grit. Spend extra time on the lower doors, rear bumper, wheel arches and behind the wheels, where motorway grime and road film build up.
If you use a pressure washer, keep the nozzle moving and avoid holding it close to stone chips, peeling clear coat, parking sensors, old decals or damaged trim.
3. Clean Wheels Before Paint
Wheels are usually the dirtiest part of the vehicle. Brake dust, tyre dressing residue and road grit should not be transferred to paintwork. Use dedicated wheel tools and rinse them separately.
Clean one wheel at a time, then rinse well. Avoid letting wheel cleaner dry, particularly on warm wheels or sensitive finishes.
4. Use A Two-Bucket Wash
Fill one bucket with shampoo solution and the other with plain rinse water. Wash one small section at a time using straight-line motions and light pressure. After each section, rinse the mitt in the rinse bucket before reloading it with shampoo.
Work from cleaner areas to dirtier areas:
- Roof, glass and upper panels
- Bonnet and boot
- Upper doors and guards
- Lower doors, sills and bumpers
- Exhaust surrounds and very dirty lower areas last
This sequence reduces the chance of dragging heavy dirt onto cleaner panels.
Rinsing And Drying Without Water Spots
After washing, rinse thoroughly from the top down. Do not allow shampoo to dry on the surface. If your tap water is hard, drying becomes especially important because minerals can remain on the paint and glass.
Use a large microfibre drying towel and lay it gently on the panel, then pull it across with minimal pressure. A small amount of drying aid can add lubrication, but it should be suitable for your paint protection if fitted.
Avoid these common drying habits:
- Letting the vehicle air dry in the sun
- Using a chamois on dirty or unprotected paint
- Wiping with one small towel until it becomes saturated
- Drying the lower panels first and then moving upwards
- Using towels that have been washed with fabric softener
If water spots have already etched into the paint or glass, washing may not remove them. They may require polishing or a dedicated mineral deposit treatment.
Mistakes That Cause Scratches
A safe wash is mostly about avoiding unnecessary friction. Even a clean-looking vehicle can hold abrasive contamination, especially after rain or a motorway drive.
Common mistakes include washing without a pre-rinse, using circular scrubbing motions, applying heavy pressure to bug marks, and using one mitt for wheels and paint. Automatic brush washes can also leave visible marring on softer paint systems.
For bird droppings, bug splatter or tree sap, soften the contamination first rather than scrubbing. If the mark does not release easily, stop and use a suitable remover. Forcing it off may leave permanent marks.
If your paint still looks dull after careful washing, the issue may be bonded contamination, oxidation or wash marring. Our vehicle detailing Auckland guide explains where maintenance washing ends and professional detailing begins.
How Often Should You Wash?
For many Auckland vehicles, washing every two to four weeks is sensible. Vehicles parked outdoors, driven daily on the motorway, or kept near coastal areas may need more frequent maintenance. A garaged weekend vehicle may need less.
The goal is not to over-wash. It is to remove contamination before it bonds to the surface. A gentle, consistent process is safer than infrequent aggressive scrubbing.
If you are unsure whether your paint is protected, contaminated or already marked, Carfē can assess it at our Greenlane studio and recommend a suitable wash, detail or protection plan. You can book an appointment if you would like your vehicle inspected before choosing the next step.
Frequently Asked Questions
Can I safely wash a car with dishwashing liquid?
No. Dishwashing liquid is not designed for automotive paint and can degrade waxes, sealants and rubber trims. Use a pH-neutral car shampoo instead.
Is a pressure washer safe for home car washing?
Yes, if used carefully. Keep a sensible distance from the paint and avoid close pressure on stone chips, old decals, sensors and damaged trim.
Should I wash my vehicle before or after cleaning the wheels?
Clean the wheels first, then wash the paint. Wheels carry brake dust and grit, so their tools and rinse water should stay separate from paintwork.
Why do I still get water spots after washing?
Water spots are often caused by minerals drying on the surface. Washing in the shade and drying promptly with clean microfibre towels will help reduce them.
How often should I wash my car in Auckland?
Every two to four weeks suits many vehicles, but coastal parking, motorway use and outdoor storage may require more frequent washing.
Give your vehicle a genuinely professional clean.
From express washes to full interior and exterior detailing, and every package delivered by trained detailers at our Greenlane studio.
Related Reading
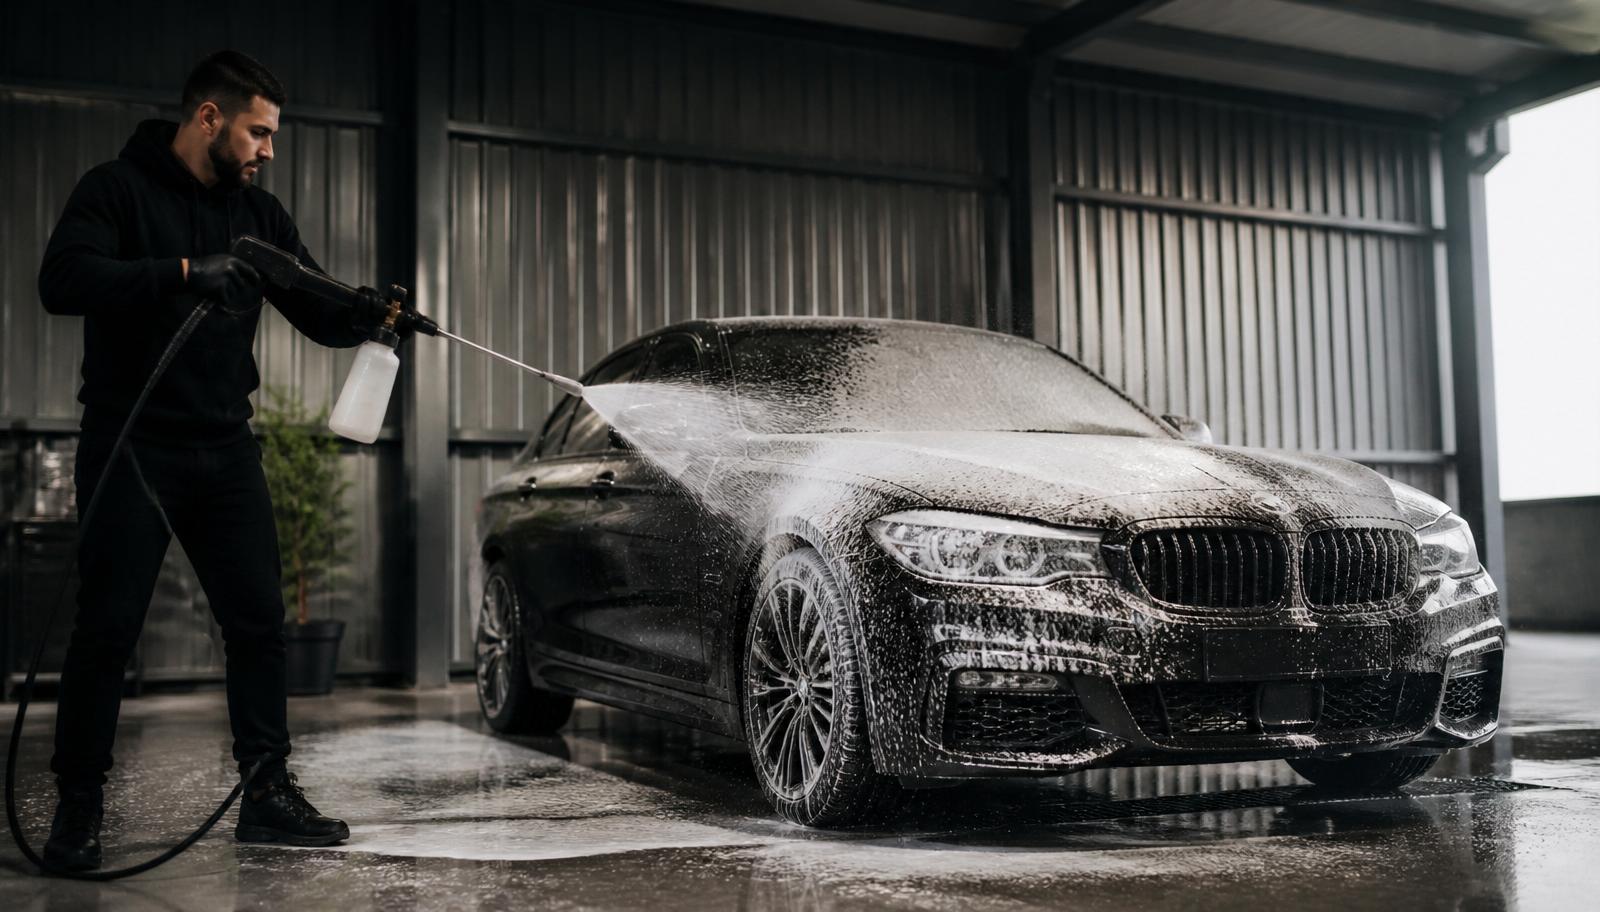
Professional Car Wash Greenlane: The Carfē Standard.
A professional wash is about controlled cleaning, not just making paint look wet. This guide explains how Carfē approaches exterior washing at its Greenlane studio.
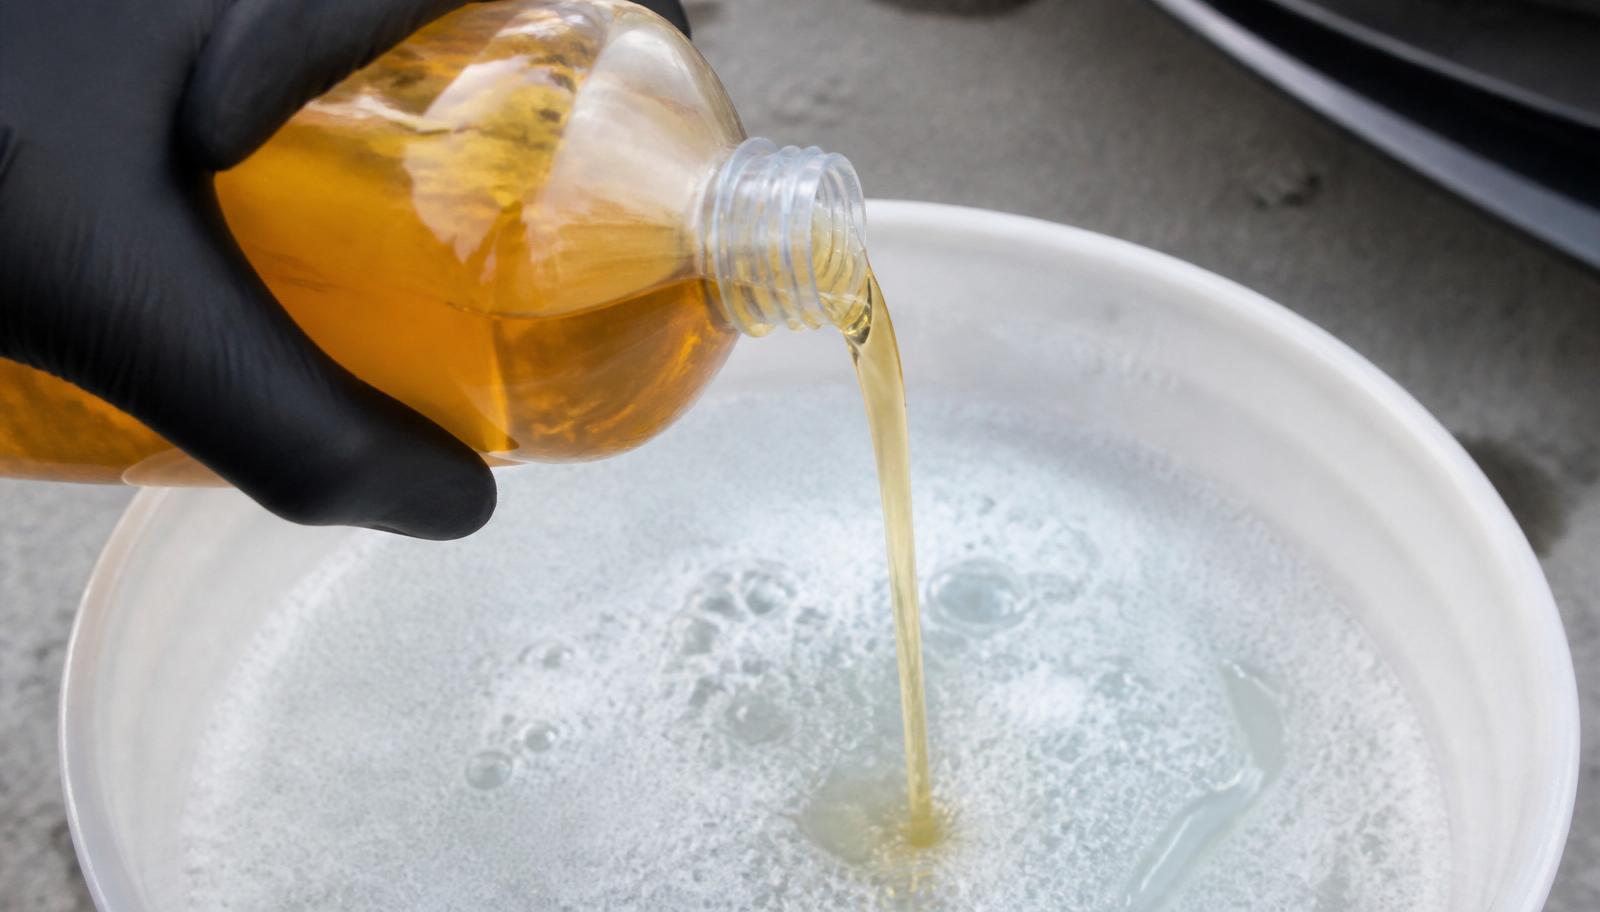
Why pH-Neutral Shampoo Matters for Your Paint.
A ph neutral car shampoo cleans road film without relying on harsh acidity or alkalinity. Used correctly, it helps protect paint, coatings and trim in Auckland conditions.
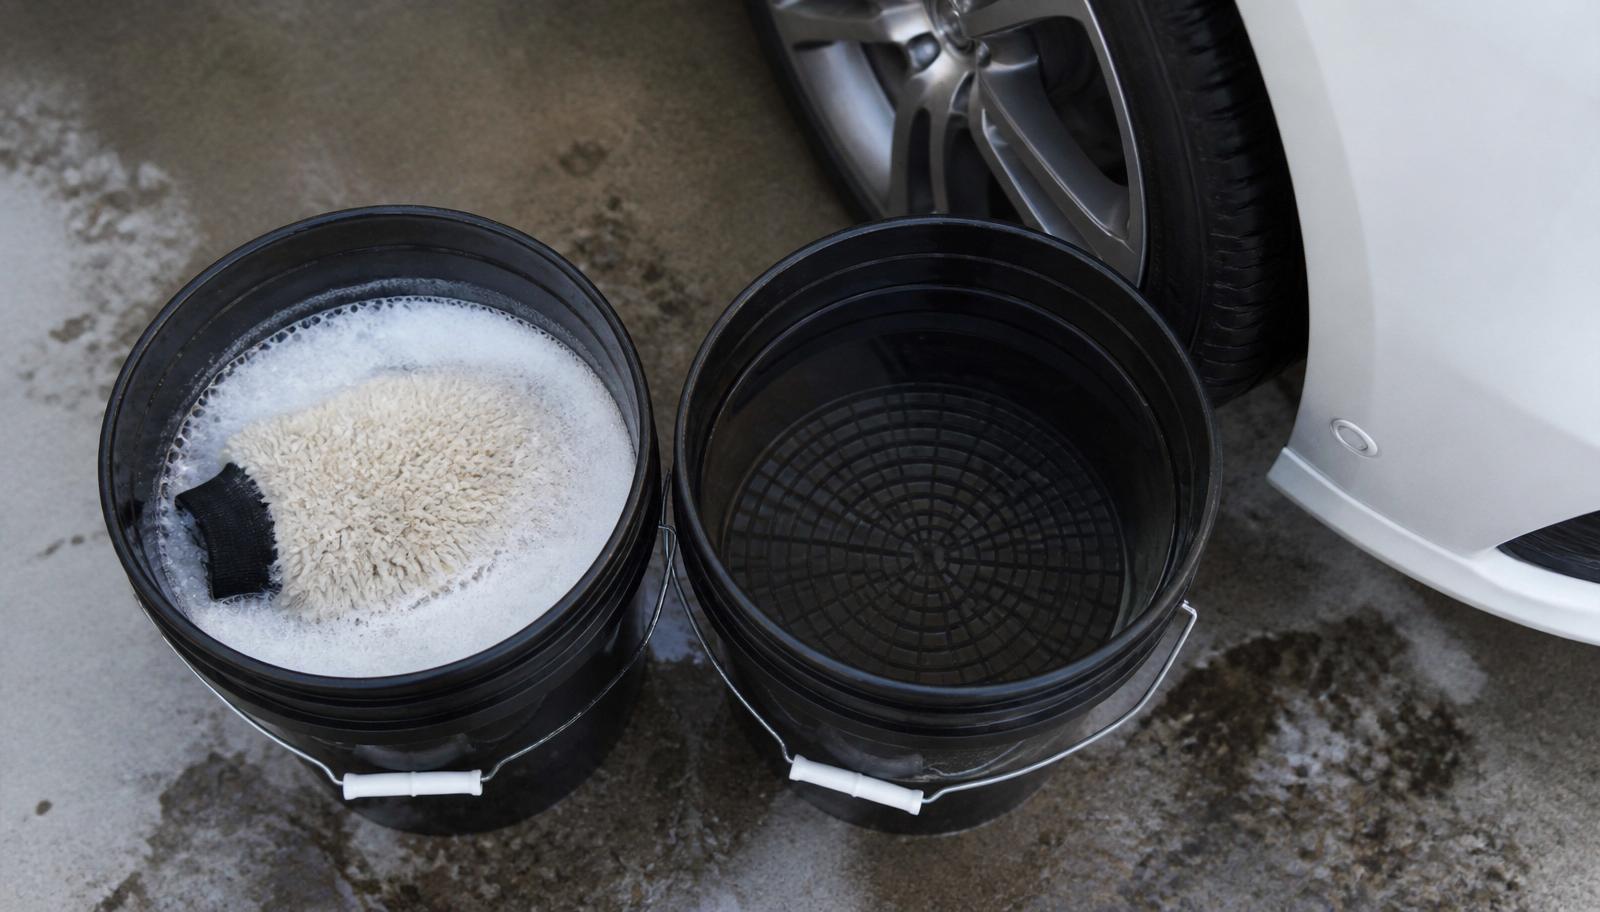
The Two-Bucket Wash Method Explained.
The two bucket wash method reduces wash-induced marks by separating clean shampoo from dirty rinse water. It is a simple, disciplined process suited to Auckland grime, rain and salt air.